
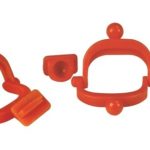
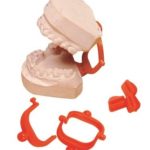
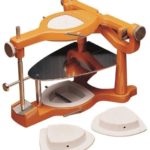
Disposable plastic articulator
SKU: 010140
Categories: Articulators (laboratory), Laboratory
- Package contains
- How to use
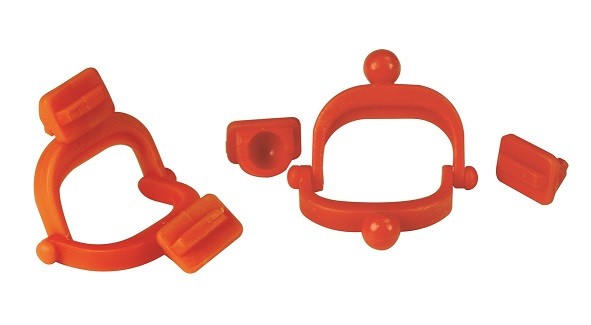
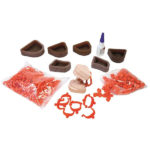
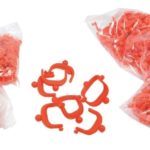
Package contains
Presentation:
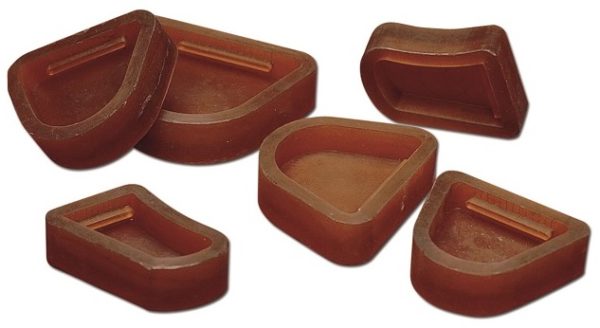
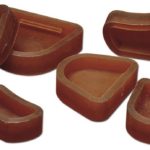
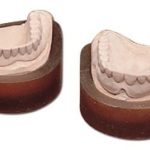
- 4 bases for complete phrosthesis.
- 2 bases for partial phrosthesis.
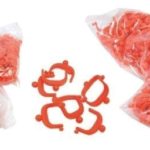
- 1 x 20 g. container of cyanoacrylate.
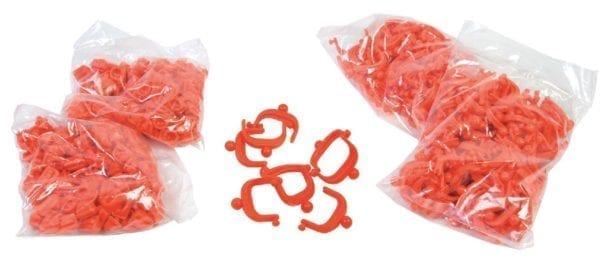
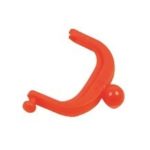
- 50 articulators.
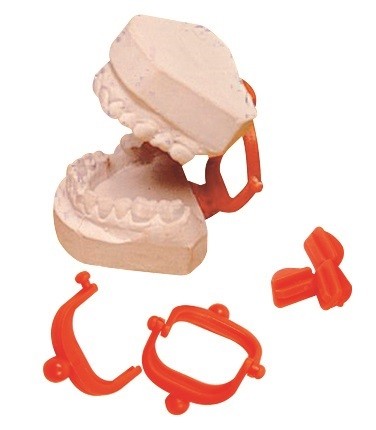
How to use
1.

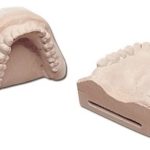
Choose the most suitable base size.
2.

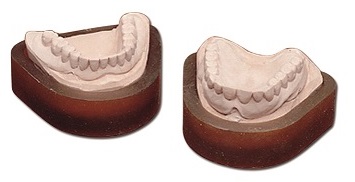
Empty the impression as usual.
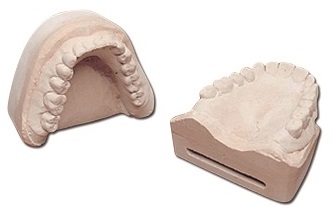
3.

Remove the model from the base once the plaster has set.
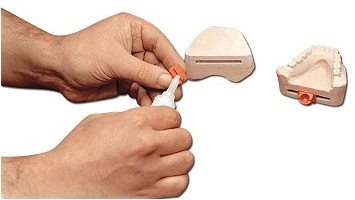
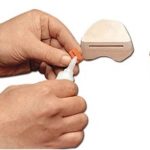
4.

Pour a little cyanoacrylate on the cap of the swivel joint (the flat part) and stick it into the slot in the top model. Press them together for a few seconds. Do the same with the bottom model.
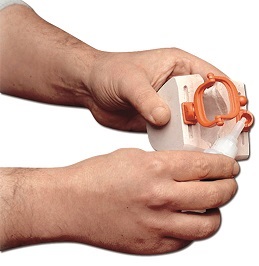
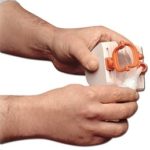
5.

With the plaster models placed one on top of the other and the forks mounted, pour a little cyanoacrylate onto the domes of the hats. Then put in the spheres of the forks and wait a few moments until the cyanoacrylate sets.